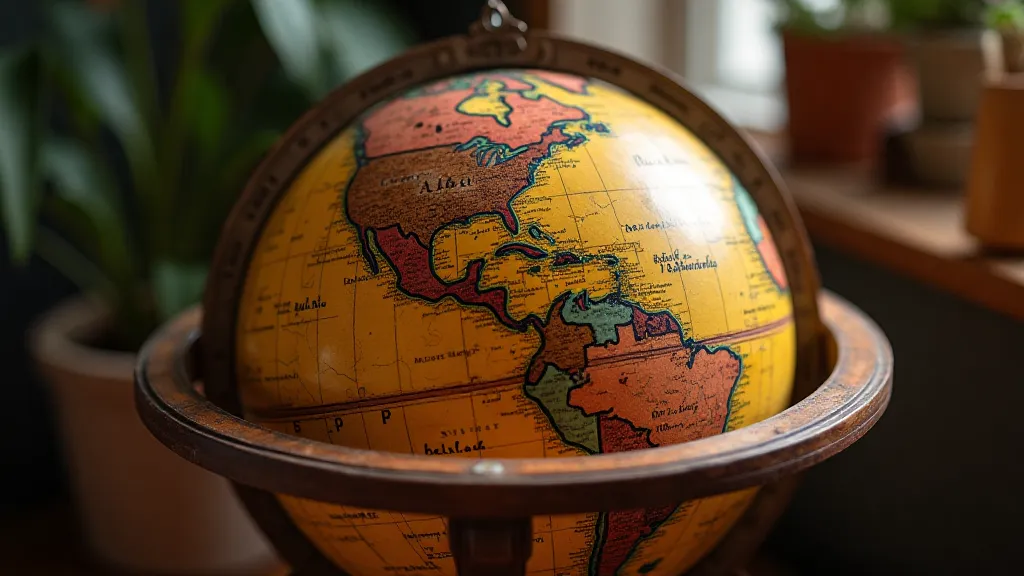
Repairing Loose Globe Paper: Securing the Map Without Damage
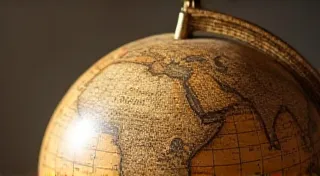
Antique globes are beautiful, fascinating objects, but their delicate paper maps are often a source of concern. Over time, adhesives dry out, paper weakens, and the meticulously rendered cartography begins to peel away. Loose globe paper is a common issue, but with careful technique and the right materials, it can be repaired without causing further damage. This guide provides a step-by-step approach to addressing this problem, preserving the integrity and value of your collectible globe.
Understanding the Challenges
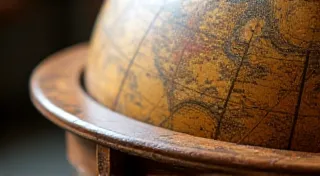
Before you begin, it's vital to understand what you're dealing with. Antique globe paper is typically thin, often mounted on a fragile paper backing, and originally adhered with animal-based glues. Modern adhesives can react poorly with these materials, potentially causing discoloration, brittleness, or even further separation. The adhesive used originally often degrades into a powdery residue which can complicate the process.
Keywords: antique globes, globe repair, vintage maps, paper adhesion, collectible globes
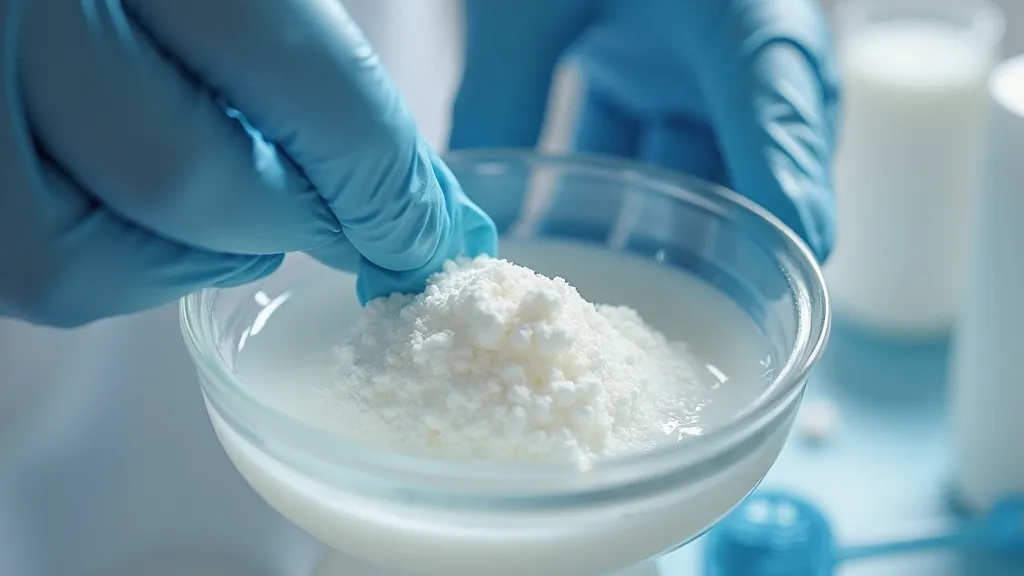
Materials You’ll Need
- Archival Methyl Cellulose Adhesive (Methylcellulose): This is a reversible, pH-neutral adhesive ideal for paper conservation. Avoid standard PVA glues as they can be too strong and damage the paper.
- Distilled Water: For mixing the methylcellulose.
- Small, Fine-Tipped Applicator Brush: For precise adhesive application.
- Bone Folder (or similar smooth, blunt tool): For smoothing the paper and removing air bubbles.
- Clean Cotton Swabs: For cleaning residue and excess adhesive.
- Soft, Lint-Free Cloth: For gentle cleaning.
- Magnifying Glass: For detailed inspection.
- Gloves (Cotton or Nitrile): To prevent oils from your hands affecting the paper.
Step-by-Step Repair Process
- Preparation: Work in a well-lit area with plenty of space. Thoroughly clean the area around the loose paper using a soft, lint-free cloth. A magnifying glass will help you identify any areas of significant residue.
- Methylcellulose Preparation: Mix the methylcellulose powder with distilled water according to the manufacturer's instructions. A typical ratio is 1 part powder to 4 parts water, but always follow the product directions. Allow the mixture to sit for at least 15 minutes to fully hydrate. The resulting consistency should be like a thin paste.
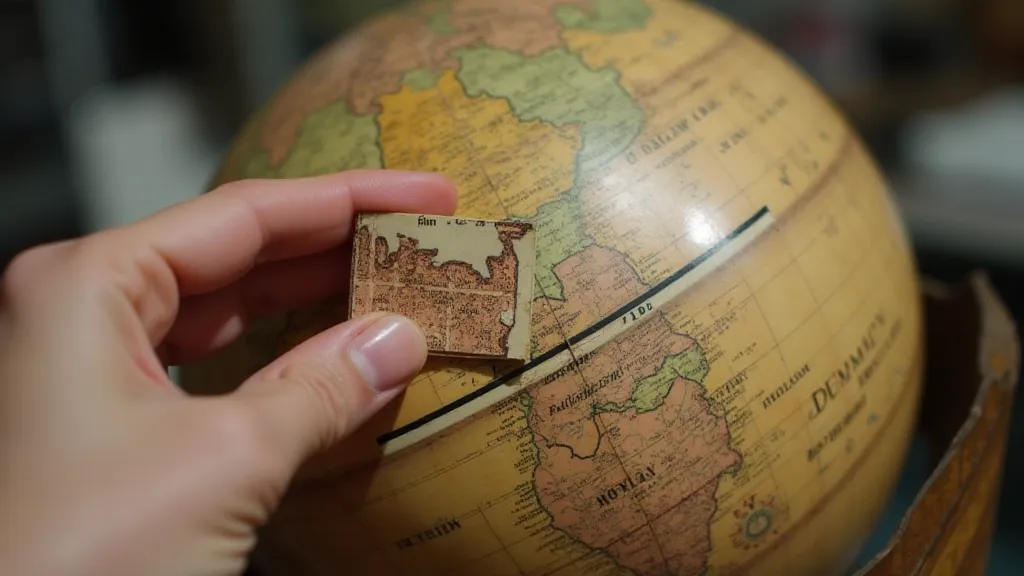
- Applying the Adhesive: Using the fine-tipped applicator brush, carefully apply a *thin* layer of methylcellulose adhesive to both the globe paper edge and the underlying paper backing. Less is more! Avoid saturating the paper.
- Reattaching the Paper: Gently align the loose paper back into place. Use the bone folder (or similar tool) to smooth the paper, working from the center outwards to eliminate air bubbles and ensure good contact.
- Drying and Stabilization: Allow the repair to dry completely under a light weight to ensure even adhesion. Drying time can vary depending on humidity and temperature, typically 24-48 hours.
- Cleaning Up Excess Adhesive: Once dry, any excess adhesive can be carefully removed with a soft cloth and cotton swabs.
Important Considerations & Preventing Future Issues
- Test First: Before applying adhesive to the entire area, test it on a small, inconspicuous section of the globe to ensure compatibility.
- Avoid Heat and Direct Sunlight: These can dry out adhesives and weaken paper.
- Relative Humidity: Maintain a stable relative humidity in your storage environment to prevent paper from becoming brittle or expanding.
- Professional Consultation: For particularly valuable or severely damaged globes, consult a professional paper conservator.
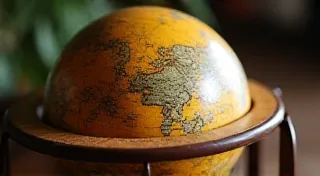
Repairing loose globe paper requires patience and a delicate touch, but the results can be incredibly rewarding. By following these steps and using appropriate materials, you can preserve the beauty and historical significance of your antique globe for generations to come.