Repairing Globe Paper Loss: Inpainting Techniques for Minimal Visibility
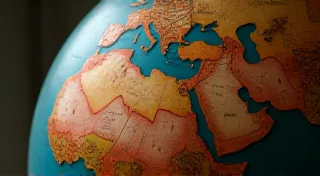
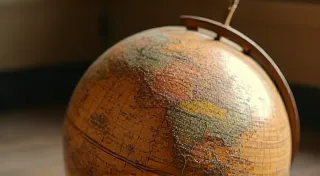
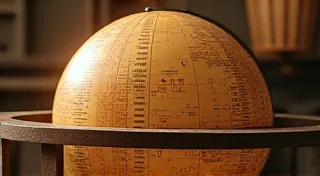
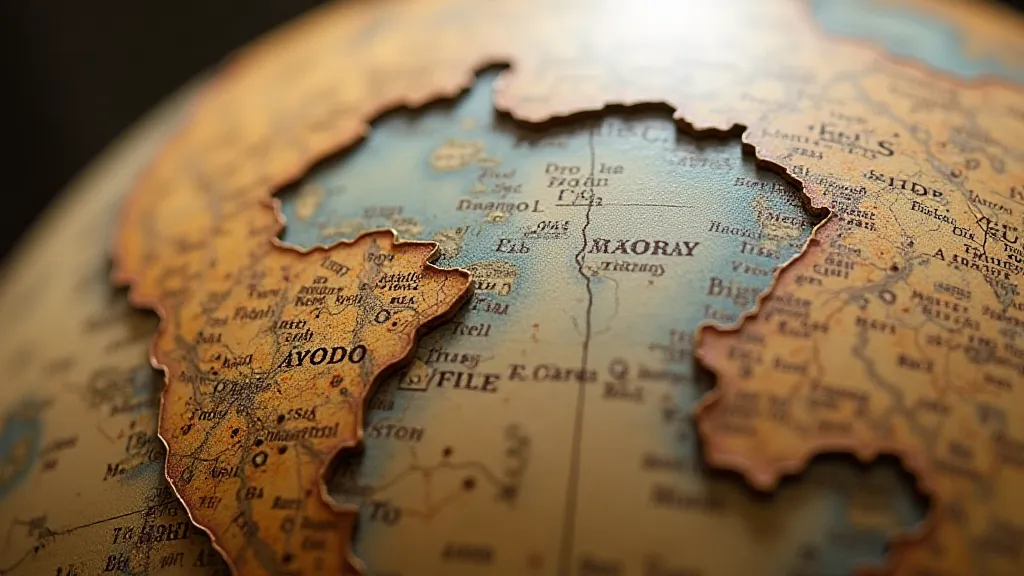
Antique globes, with their intricate details and historical significance, often suffer from paper loss over time. While complete restoration isn't always possible or desirable, skilled inpainting techniques can dramatically reduce the visual impact of these imperfections, preserving the globe's character and value. This guide explores these techniques, focusing on methods that prioritize minimal visibility and adhere to conservation principles.
Understanding the Challenge: Why Inpainting is Needed
Paper loss on antique globes can result from a variety of factors: handling, humidity fluctuations, pest damage, and simply the passage of time. While you might be tempted to simply fill the missing areas with a contrasting color, this often detracts from the globe’s authenticity and overall appearance. The goal of inpainting isn't to make the loss disappear entirely, but to make it blend seamlessly with the surrounding paper, creating a cohesive and visually pleasing result.
Materials You'll Need
- Conservation-Grade Acrylic Paints: Crucially, use artist-quality acrylics known for their stability and reversibility. These won’t yellow or damage the original paper.
- Acrylic Medium: For blending and achieving the right consistency.
- Fine-Tipped Brushes: A range of sizes is essential for intricate work.
- Color Matching Tools: Color swatches, a color wheel, and good lighting are indispensable.
- Palette: For mixing paints.
- Solvent (Optional): For cleaning brushes, use a conservation-grade solvent appropriate for acrylics.
- Magnifying Glass: Essential for detailed inspection and accurate matching.
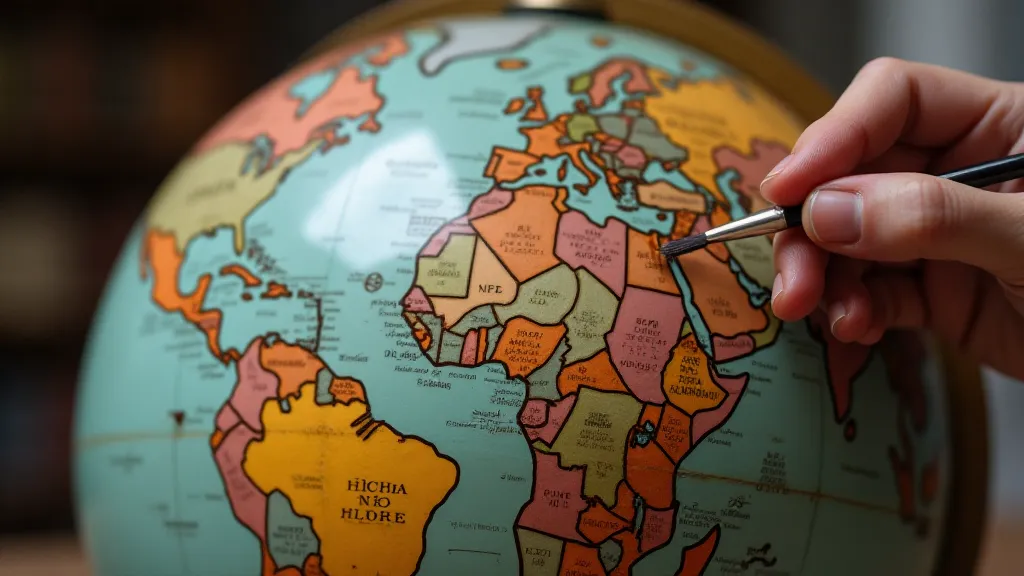
The Inpainting Process: A Step-by-Step Guide
- Preparation: Gently clean the globe's surface with a soft brush and appropriate cleaning solution (always test in an inconspicuous area first!). Let the globe dry completely.
- Color Matching: This is the most critical step. Carefully examine the surrounding paper. Note the subtle variations in color, texture, and tone. Mix small amounts of acrylic paint, gradually building up the color until you achieve a close match. Always test your mixture on a scrap piece of similar paper before applying it to the globe.
- Edge Blending: The edges of the inpainted area must blend seamlessly with the original paper. Use a fine-tipped brush and a very small amount of paint. Use short, feathering strokes to soften the transition.
- Layering and Toning: Antique maps often have subtle tonal variations. To replicate this, apply thin, transparent layers of paint, allowing each layer to dry completely before applying the next. This builds depth and complexity to the inpainted area.
- Texture Replication (Advanced): If the original paper had a specific texture, attempt to replicate it using a stippling technique or by applying a textured medium over the inpainted area. This is an advanced technique that requires considerable skill and patience.
Important Considerations & Conservation Ethics
Reversibility: Always prioritize reversible techniques. The materials and methods you use should allow for the removal of the repair in the future without damaging the original paper.
Minimal Intervention: Less is more. Only inpaint areas that significantly detract from the globe's overall appearance. Leaving small, stable losses is often preferable to aggressive repair.
Documentation: Keep detailed records of the materials and methods used for the repair. This information is valuable for future conservation efforts and maintains the integrity of the globe’s history.
Professional Help: Complex repairs or valuable globes are best left to professional conservators. Incorrect techniques can cause irreversible damage.
Beyond the Basics: Addressing Specific Challenges
Large Losses: For large areas of paper loss, consider using a thin Japanese paper backing secured with conservation-grade adhesive. Then, inpaint the missing areas onto this backing.
Faded Colors: If the surrounding paper has faded, try to match the *current* color, rather than trying to recreate the original vibrancy.

Conclusion
Repairing globe paper loss through inpainting is a delicate and rewarding process. By understanding the principles of conservation and employing meticulous techniques, you can preserve the beauty and historical significance of these treasured artifacts, ensuring their enjoyment for generations to come.