Repairing Globe Paper Tears: Techniques for Gentle Mending
Antique globes are beautiful and fascinating artifacts, offering a glimpse into historical cartography. However, the fragile paper maps that cover them are often damaged – tears are a common problem. This guide provides detailed techniques for repairing torn globe paper, prioritizing gentle methods that preserve the globe's historical integrity and aesthetic value. Our focus is on minimal intervention and a stable, as-invisible-as-possible repair.
Understanding the Challenge: Globe Paper and Its Vulnerabilities
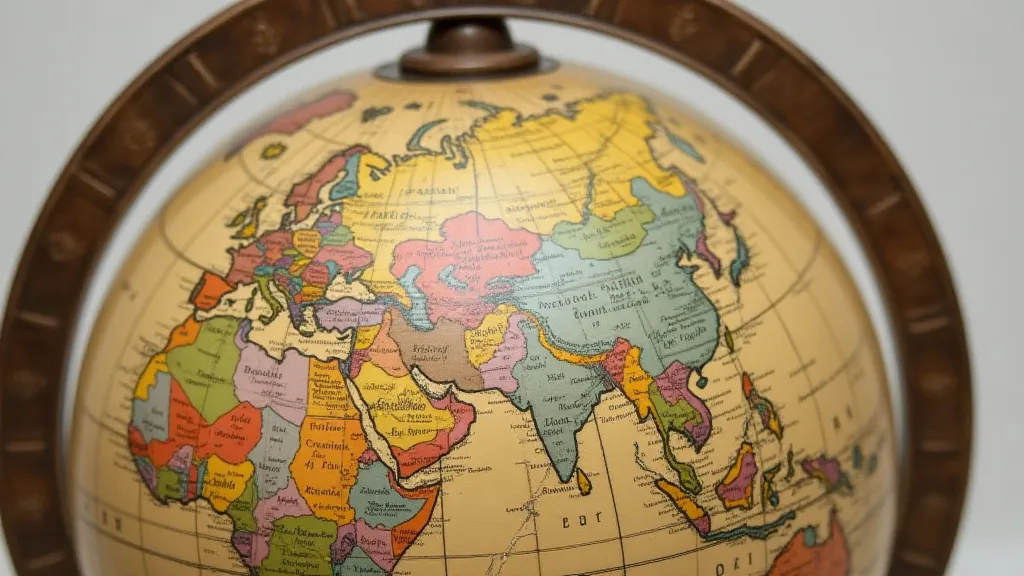
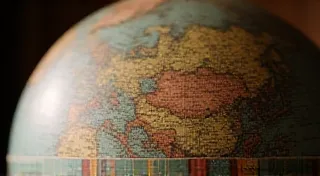
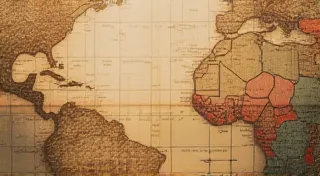
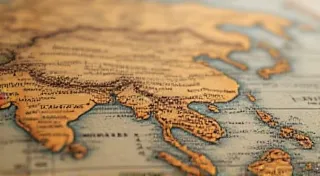
Globe paper is typically thin, often mounted on tissue, and frequently made from materials susceptible to brittleness and degradation with age. Direct sunlight, humidity fluctuations, and handling contribute to its vulnerability. Tears often occur along fold lines or areas weakened by previous repairs. The style of cartography used, and how it was projected onto the globe's surface, can also play a role in the stress points seen in the paper. Understanding the evolution of map projections on antique globes is helpful in predicting these weak points, too.
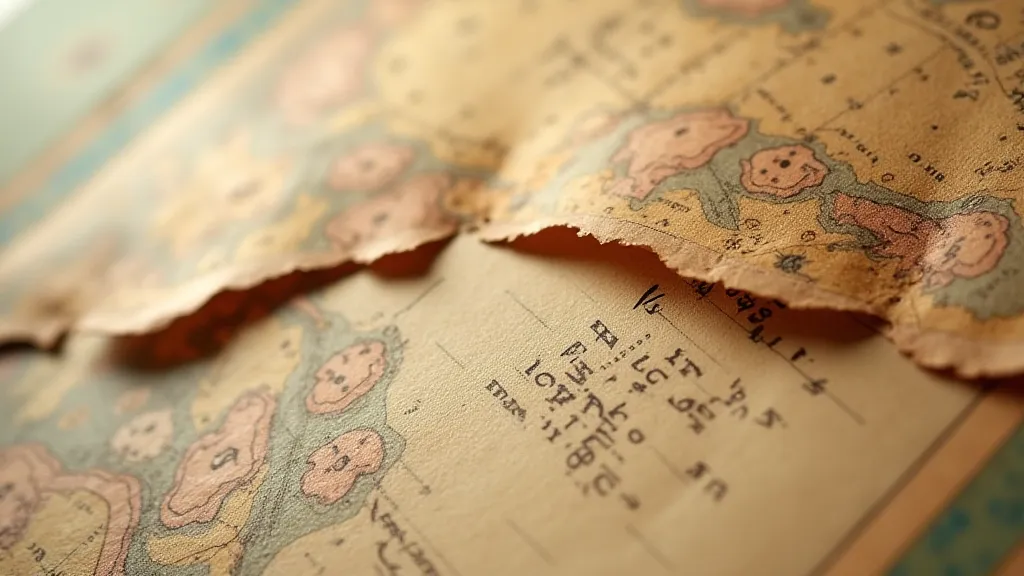
Before you begin: Always assess the extent and nature of the tear. Is it a clean break, or frayed and fragmented? Are there missing pieces? This assessment will guide your repair strategy. Work in a clean, well-lit area, free from dust and drafts.
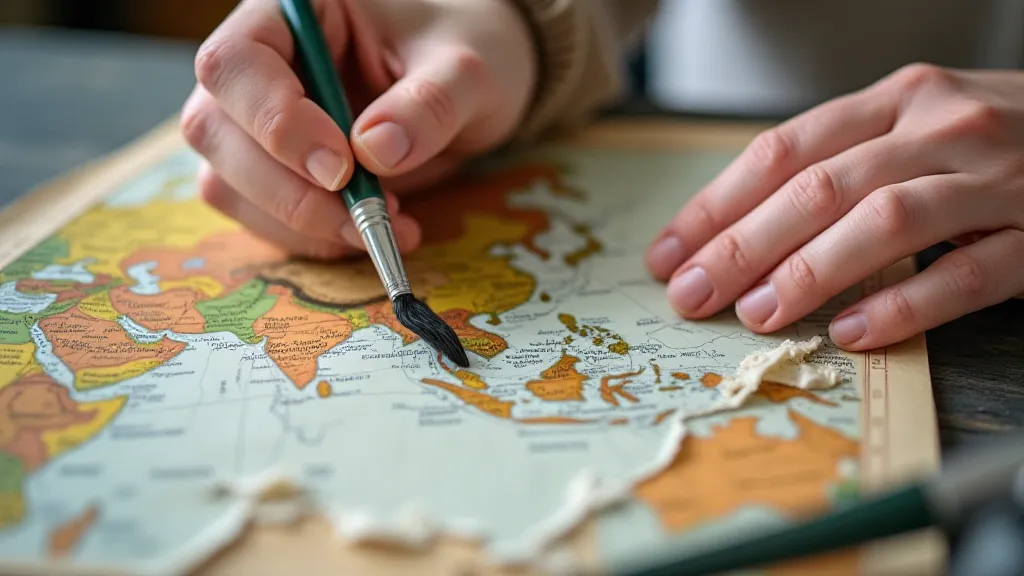
Materials You'll Need
- Japanese Tissue Paper: Strong yet thin, Japanese tissue is the standard for paper repair. Different weights are available; a mid-weight is usually best.
- Methylcellulose Adhesive (Methylcellulose Solution): This archival-quality adhesive is reversible and gentle on paper. Dilute it according to the manufacturer’s instructions (usually a 1:1 ratio with distilled water).
- Bone Folder: Essential for smoothing paper and applying even pressure.
- Fine-Tipped Brush: For precise adhesive application. A watercolor brush works well.
- West System Mylar Sheeting (Optional): For reinforcing particularly fragile or large tears.
- Distilled Water: For diluting adhesive and cleaning.
- Clean Lint-Free Cloth: For wiping excess adhesive.
The Repair Process: A Step-by-Step Guide
- Clean the Area: Gently clean the area around the tear with a soft, dry brush to remove any loose debris.
- Align the Edges: Carefully align the edges of the tear, making sure they match as closely as possible. Use a bone folder to gently coax them into position.
- Apply Adhesive (For Small, Clean Tears): Using the fine-tipped brush, apply a thin, even layer of diluted methylcellulose adhesive to the *back* of the tear, holding the edges together with your fingers. Feather the adhesive slightly beyond the tear’s edges.
- Apply Adhesive & Tissue (For Larger or More Damaged Tears): Cut a piece of Japanese tissue paper slightly larger than the tear. Apply adhesive to both the back of the tear and the tissue. Position the tissue over the tear, aligning it carefully. Use the bone folder to smooth the tissue and remove any air bubbles.
- Drying and Weighting: Place a sheet of clean paper towel over the repaired area. Gently weight the globe with a light, flat object (like a book) to ensure even drying. Avoid direct sunlight or heat. Drying time can vary, typically 24-48 hours.
- Reinforcement (Optional): For particularly fragile tears or areas prone to future damage, consider applying a thin layer of West System Mylar sheeting over the repair after it has fully dried. This provides added stability. Often, the decorative elements surrounding the map – the understanding globe cartouches and their restoration – are just as fragile and require similar care.
Addressing Missing Pieces: A Difficult Challenge
Repairing globe paper with missing pieces is significantly more complex and requires advanced paper conservation skills. While recreating missing sections is possible, it's crucial to understand that any reconstruction is an interpretation and will alter the globe's historical accuracy. It's often better to stabilize the remaining edges of the tear rather than attempting a reconstruction, unless the missing piece is relatively small and easily replicated. The fading of ink and the deterioration of materials also contribute to this challenge, and tackling dealing with fading ink on antique globe maps is a separate, specialized skill.
A Deeper Dive: Understanding the Globe’s Construction
Beyond simply mending tears, a true appreciation for antique globe repair involves understanding the intricate construction techniques employed centuries ago. These weren't mass-produced items; each globe represented a significant investment of time and skill. The understanding meridian bands, their materials, and their restoration is paramount. These bands not only define the globe’s orientation but also often bear decorative elements that are susceptible to damage. The condition of these bands can offer clues about the globe's age, origin, and repair history.
Advanced Repair Techniques: Considerations for Valuables
For particularly valuable or historically significant globes, a more conservative approach is always recommended. This might involve minimal intervention, focusing solely on stabilizing existing damage rather than attempting extensive restoration. Professional conservation often entails photographic documentation before any work is undertaken, allowing for a detailed record of the globe’s condition. Furthermore, ethical considerations dictate that any restoration work be reversible, allowing future conservators to undo previous interventions if necessary. The type of adhesive used, the techniques employed, and even the tools used should all be carefully chosen to minimize any potential harm to the original materials.
Long-Term Preservation: Environmental Control and Handling
Once a globe has been repaired, proper storage and handling are crucial to prevent future damage. Fluctuations in temperature and humidity are major contributors to the deterioration of paper and adhesives. Ideal conditions involve a stable environment with controlled humidity (around 50%) and moderate temperature. Direct sunlight and strong artificial light should be avoided, as they can cause fading and embrittlement. When handling a globe, always use clean hands or gloves to prevent the transfer of oils and dirt. Display cases with UV-filtering glass can provide added protection.
Important Considerations and Precautions
- Test First: Before working on the globe itself, always test your adhesive and techniques on a scrap piece of similar paper.
- Reversibility: All materials and techniques used should be reversible, meaning they can be safely removed in the future if necessary.
- Humidity Control: After repair, store your globe in a stable environment with controlled humidity to prevent future damage.
- Professional Assistance: For complex or valuable globes, consider consulting a professional paper conservator.
Preserving Your Globe for Future Generations
Repairing antique globe paper is a delicate process, but with careful attention to detail and the right techniques, you can preserve these fascinating historical artifacts for years to come. By prioritizing gentle methods and respecting the globe's historical significance, you've done your part in ensuring that this treasure can be enjoyed by generations to come.